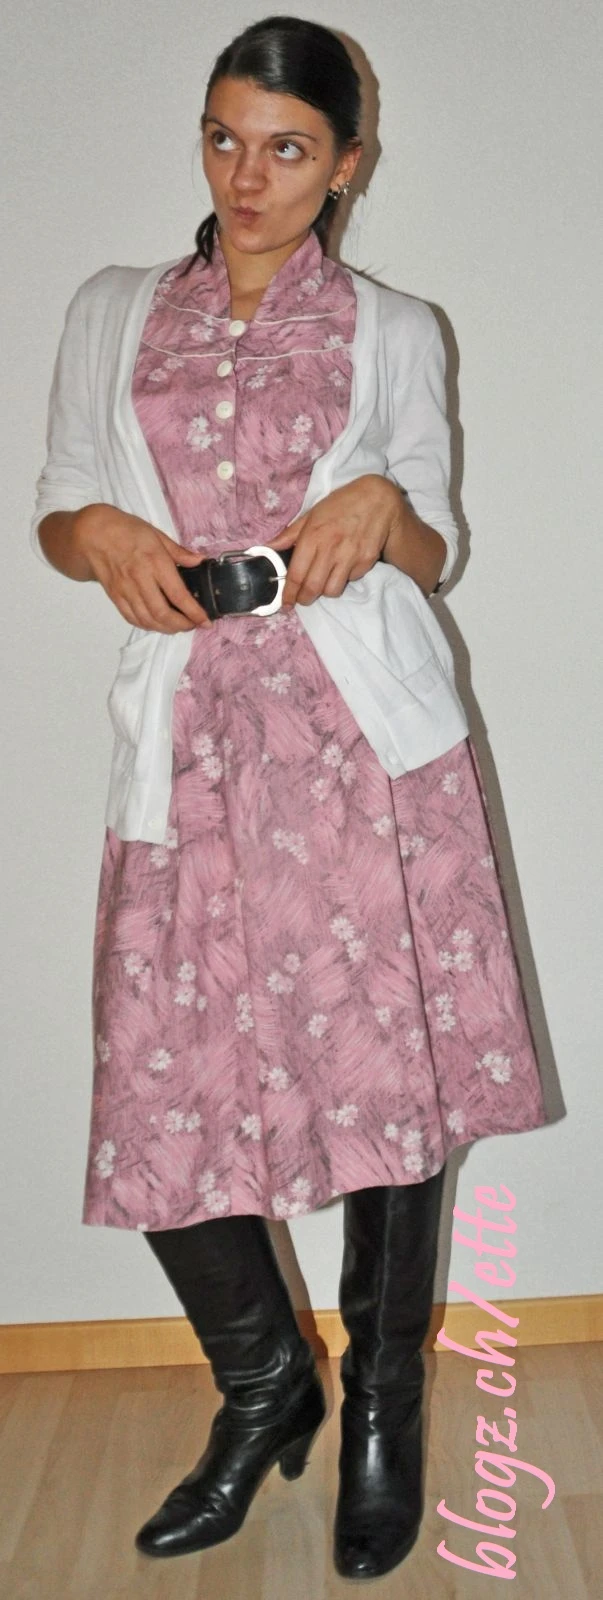
As I already said, life kept me busy during the last weeks and even if I had time to sew, often enough I wasn’t in the mood for it.
As the due date for this challenge approached I decided to force myself to make it, though the project I had had in mind first wasn’t realizable anymore in such a short time.
I had no cut-out-and-set-to-work-pattern for anything undergarment-related (but a Laughing Moon corset pattern but that would have been a little too much in such a short time) and one of my least loved steps while sewing is tracing the pattern.
So I searched for a pattern, that would need only a minimum of effort to prepare, but still be something I wanted to make. I quickly decided to try a Lutterloh-pattern, my first. Not only because enlarging patterns seems to be more fun than drafting them all on your own and second because I already own two Lutterloh-books, but I haven’t realized a single garment from neither of them. An undergarment seemed to be a good project to get to know how this system works.
For all of you who don’t know Lutterloh-patterns: The patterns are miniature sized and need to be enlarged. To enlarge them, you need a special scale that is part of every Lutterloh-book you buy. Most of the old books miss this scale, but it is fairly easy to make one yourself, copying the one in the book. This scale is attached to a standard measuring tape, a tack is punched through the scale, the exact position is determined by your body measurements, and pinned to a mark in the middle of the pattern, the pattern lying on a large sheet of paper. Dots and numbers tell you, where to turn the measuring tape to and how long the distances have to be. Like this you get a series of dots, when connecting these, you come up with an enlarged pattern, fitted to your size.
But the system is very basic. There are no markings, no hints what to fit where, no darts, no information about closure etc. Additionally, these are still historical patterns, so you will have to face the same fitting issues as with other vintage patterns.
If you want to try the system without bying a book (the old ones are pretty expensive), here you can find instructions and some patterns from 1941 issue (the same I own). Note: this is a german system, so are the instructions 😉 And this website tells you to pay attention to the printed size of the patterns, you really don’t have to. The patterns are enlarged radially, all you need is a non-distorted copy so the angles between the different marks are correct. I copied my card because I didn’t want to pierce through the old paper and doubled its size. This changes nothing in the ratio of the numbers, in my opinion it even makes you result more accurate, because the farther away the marks from your tack are, the less inaccuracy will result in the position of the new dots.
And to all american readers: this patterns are without seam allowances.
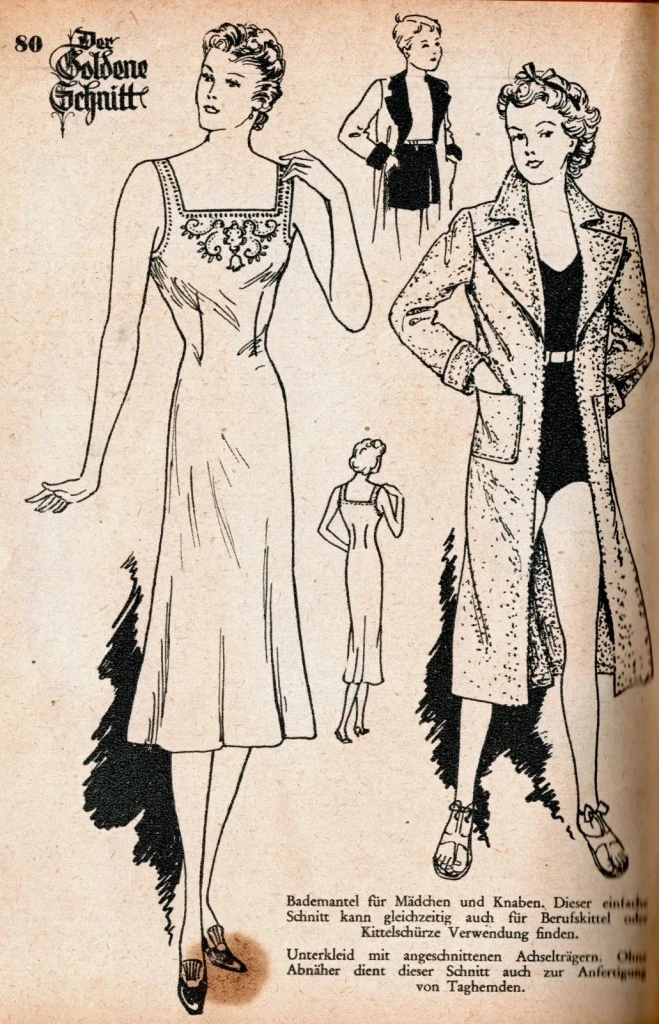
The project I chose is fairly simple. A slip dress consisting only of two cut parts, front and back (the left one):
I already own multiple slips in light shades, so when I stumbled upon a black cotton batiste during the search for a fabric, I decided to use this. The fabric was in fact a leftover from a skirt. It had a scalloped embroidered edge, but was 140cm in width, so I had plenty of fabric left after having turned the 55cm next to the embroidery into a skirt, already years ago.
Yes, cotton batiste isn’t the perfect fabric to use for a slip but 1st) I can still wear it with a satin half slip if it really won’t work and 2nd) I intend to wear it not only as a slip dress, but also as a dres to wear at home or maybe even as a nightgown in summer.
Again, I shortened the pattern significantly, not only to fit me, but also to make it fit onto the fabric. Because my original embroidered skirt had been to wide I had cut away some fabric at one side, leaving me with one single repeat of the embroidery pattern still in my stash. Knowing that I will never again find a project with a similarly well matching fabric to use this, I decided to apply it as a decoration to the neckline (to prevent it from being too stiff I cut away the fabric underneath after having applied the embroidery). The rest of the neckline, as well as the straps I faced with a white cotton ribbon in a similar way Gertie described on her blog only days later (really, I had already finished it when I saw her post appear).
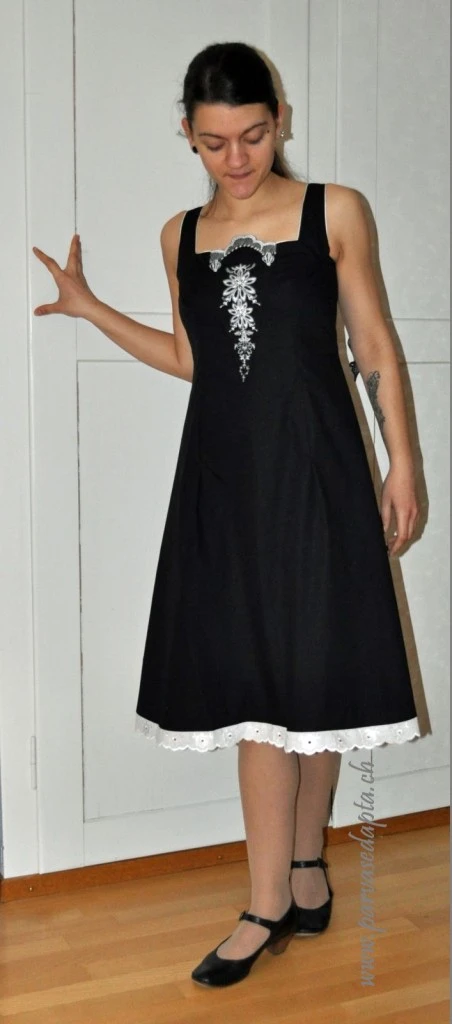
The positions of the upright darts (in the front as well as in the back) were marked in the pattern, but without scale, so I had to figure out the exact placement and the size myself. There is only one way for me to do things like this: dress my dressform, pin the darts, sew it, try it on. Most of the time, it works 🙂
This time I had to realize, that the fit was still far from being good and that I needed additional bust darts, after having added these I was content.
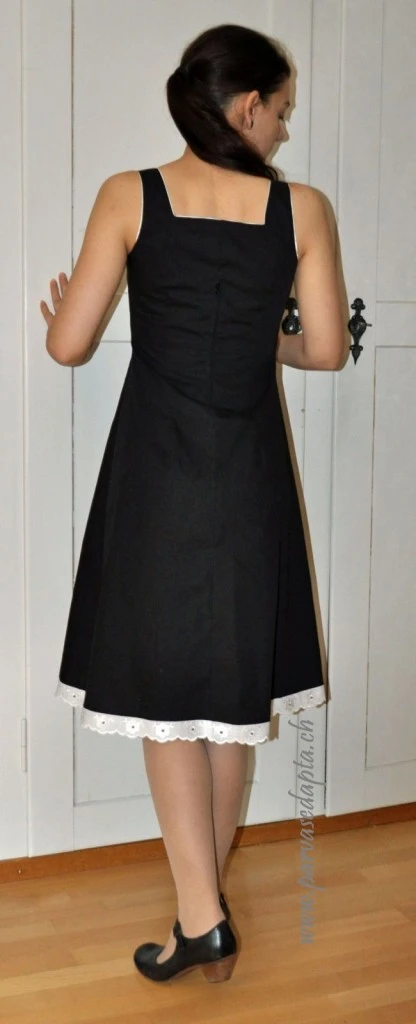
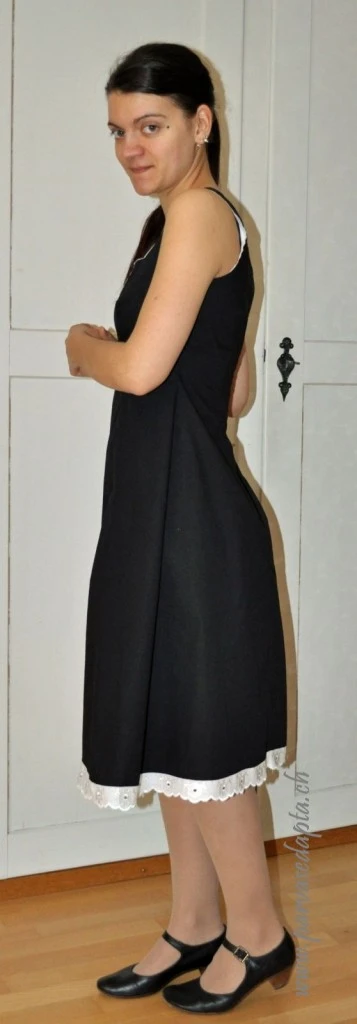
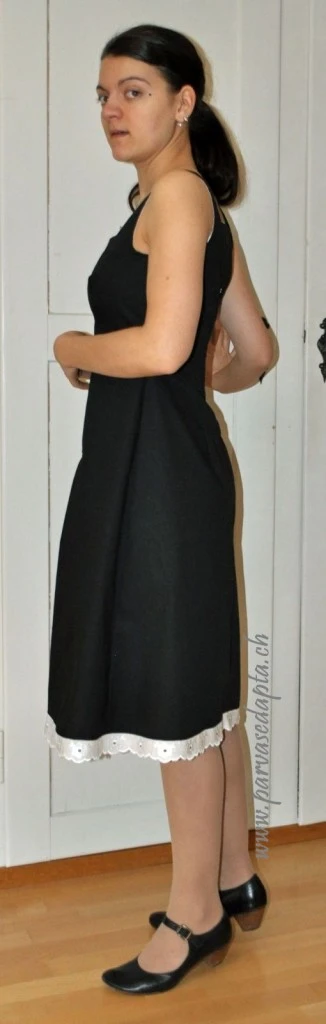
Because of my limited amount of fabric I had cut the back in two parts, leaving me with a seam in the centre back. I used this to add a zipper in the waist, otherwise I couldn’t have made my darts so close-fitting while still being able to take the dress off, you see it ends between my shoulder blades.
An interesting side fact: Last year I was able to wear a toile, made from an 18th century robe à l’anglaise, preserved in the Bavarian National Museum in Munich. First I thought it was too small, but when I forced my back in a very upright position and pulled my shoulders backwards, it fit! That showed me, how different posture 200 years ago was compared to today. Now, when wearing this I have the same effect. Left the gaping straps when standing as I usually do, right when standing more upright.
The Challenge: #4 Under it all
Fabric: black cotton batiste with white machine embroidery
Pattern: Lutterloh “Der Goldene Schnitt”
Year: 1941
Notions: thread, white cotton ribbon, nylon zipper
How historically accurate is it? The pattern is historical, the fabric is plausible. That’s it. It is shortened (but ends right below the knee, so not too short for 1940ies fashion), the machine embroidery isn’t authentic at all, neither is the nylon zipper nor its placement in the centre back.
First worn: today
Total cost: The fabric cost me 5€/m 5 years ago, I bought two metres and made the skirt as well as the slip from it. The ribbon? No idea, was in one of my sewing baskets I bought at the flea market, same applies to the embroidery on the hem, 0,50€ for the zipper. The Lutterloh-book cost me around 40€, but there are plenty of patterns in it.
 Follow