First: Welcome to my new blog-adress, I hope you found it without any problems. I was contacted by my old host, telling me that I had exeeded my upload limit, so I had to react rather quickly not to lose my blog. The move made me erase a lot of the old posts, I’m sorry if some links to no more existant posts won’t work anymore.
But let’s talk about sewing:
The second challenge in the HSF 2014 was named “Innovation”.
First I though of sewing a 30ies dress with a zipper after the 1939 zipper promotion I found in november.
Innovation can have a very direct influence on fashion and sewing, namely zippers, artificial colours, artificial fibres and so on. But it can influence life (and thereby fashion) in a different, an indirect way.
Can you imagine Dustcoats developing without cars? Bicycles did so much for the acceptance of women in trousers. Putting steel hoops in crinolines allowed the skirts to grow as big as they did in the middle of the 19th century. And you wouldn’t be able to sew a cover for your smartphone or tablet if there hadn’t been someone who invented it.
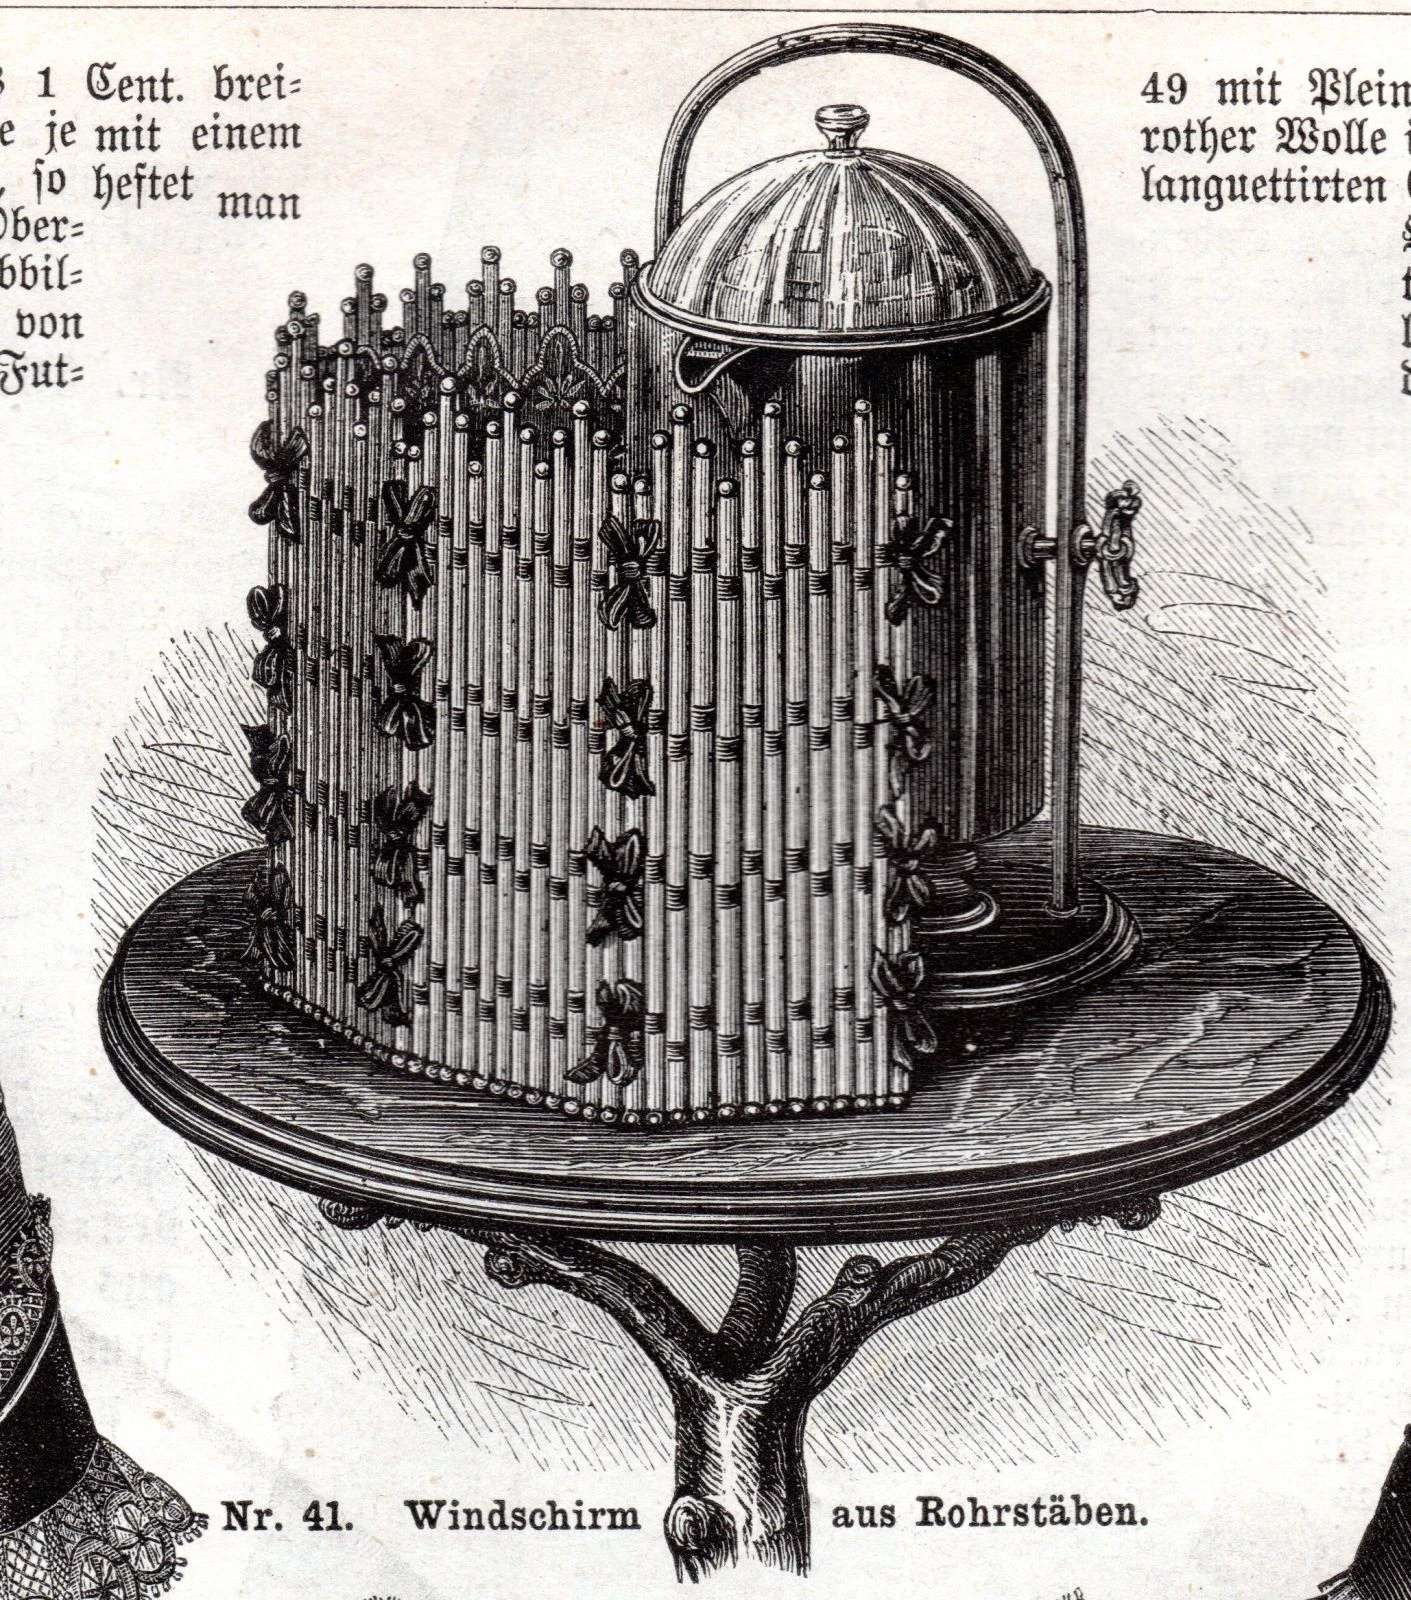
Well, first I was very keen to make this miniature folding screen which is in fact a windbreak for a petroleum-operated coffee machine. But while I would have been willing to ignore the fact, that most participants sew garments (I am still not sure if it is part of the rules, if yes I am going to break it, at least this time 😉 ), I wondered if anybody would accept this as a sewing-project. At least I wouldn’t have, so I saved it for later (and please, don’t ask me when I am planning to use a miniature screen, I have no clue).
While searching for a pattern or at least an idea what to make instead of the zipper dress, I stumbled upon a little device, meant for an invention of the 19th century, surely one of the most profund ones when it comes to sewing. No doubt, sewing machines changed sewing more than anything did in the last hundreds of years. Even inventions of artificial fibres or dyes did not have such an impact on the actual process of sewing.
So I though, why not go with it 🙂
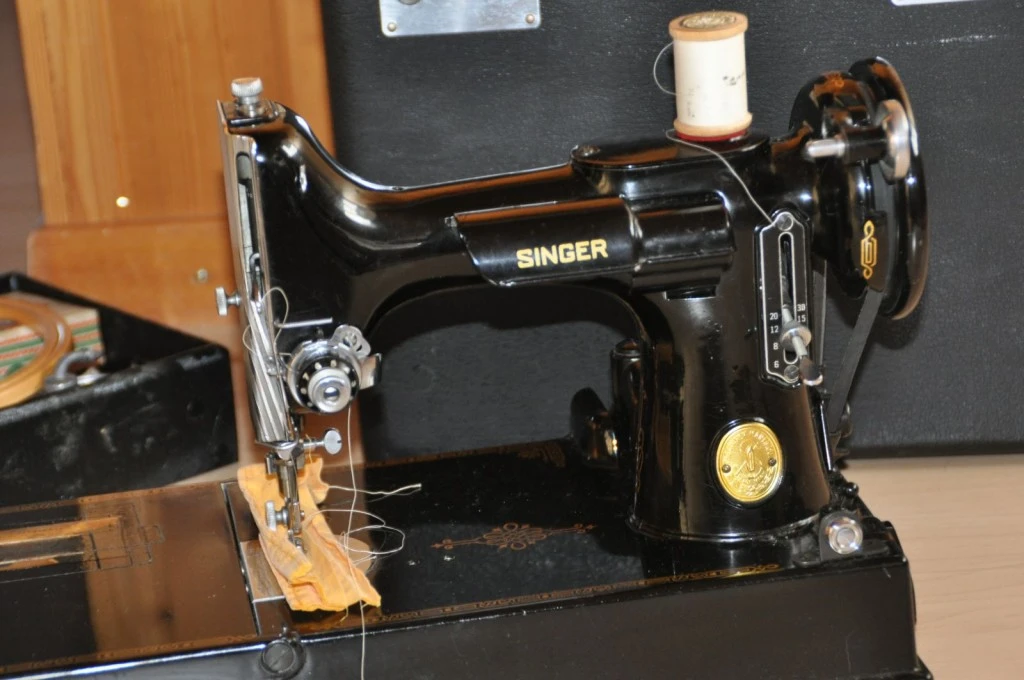
The first experimental devices to produce a mechanical seam date back to the 18th century, but it wasn’t until the middle 19th century that a properly working and commercially successful machine had been developed. The American Elias Howe had his sewing machine patented in 1846, but he didn’t succeed in turning his invention into money. After having failed badly attempting to put it on the market in England, he came back to America a few years later, only to see that a certain Isaac Merritt Singer very successfully sold sewing machines, working with his technique. This was the start of a triumphant success in the whole world.
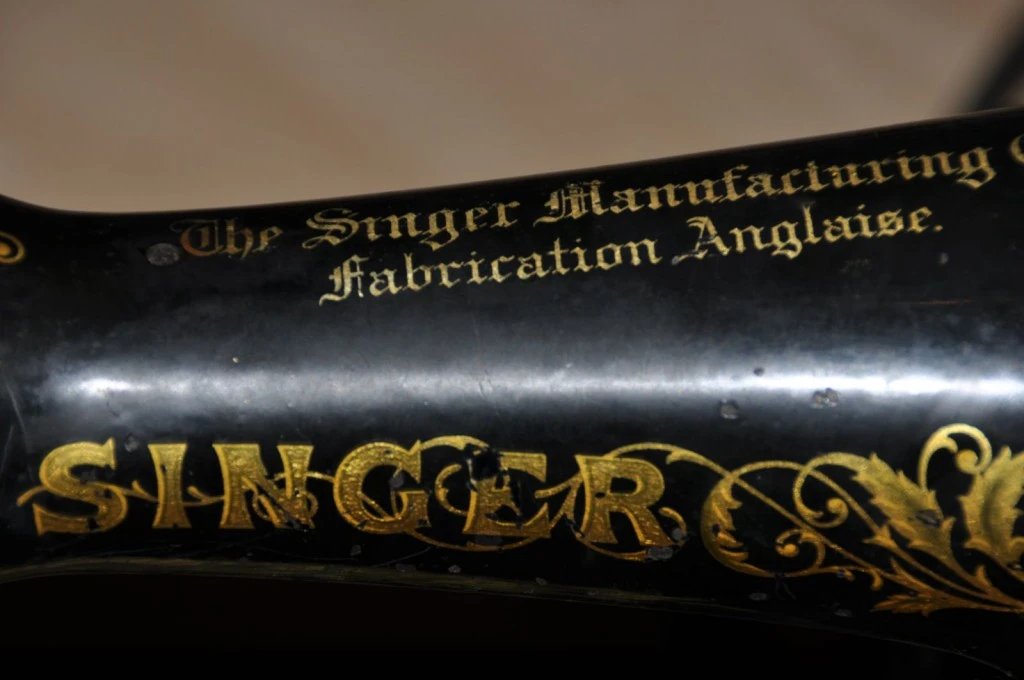
In Europe, the 1850ies and 60ies saw the birth of a large number of sewing machine manufactories, some of them survive until today. Most of them produced licensed machines after the Howe/Singer patent, often after the founder had been to the US to study the American Singer machines. The 1870ies saw a second wave of factory foundations.
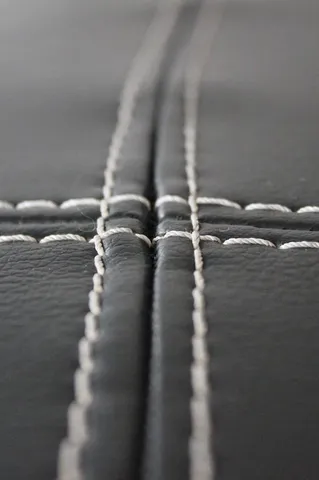
It would be too much to enlist all the additional inventions, patents and improvements made in the 2nd half of the 19th century. The chain-stitch machine, working with only one thread, was followed by the shuttle-operated machine, which again was followed by the bobbin system with the rotating hook, as we still use today, though the different systems lived alongside each other until the older ones finally died out. Zig-zag- and decorative seams became possible, the first electrical sewing machine was already issued in 1899.
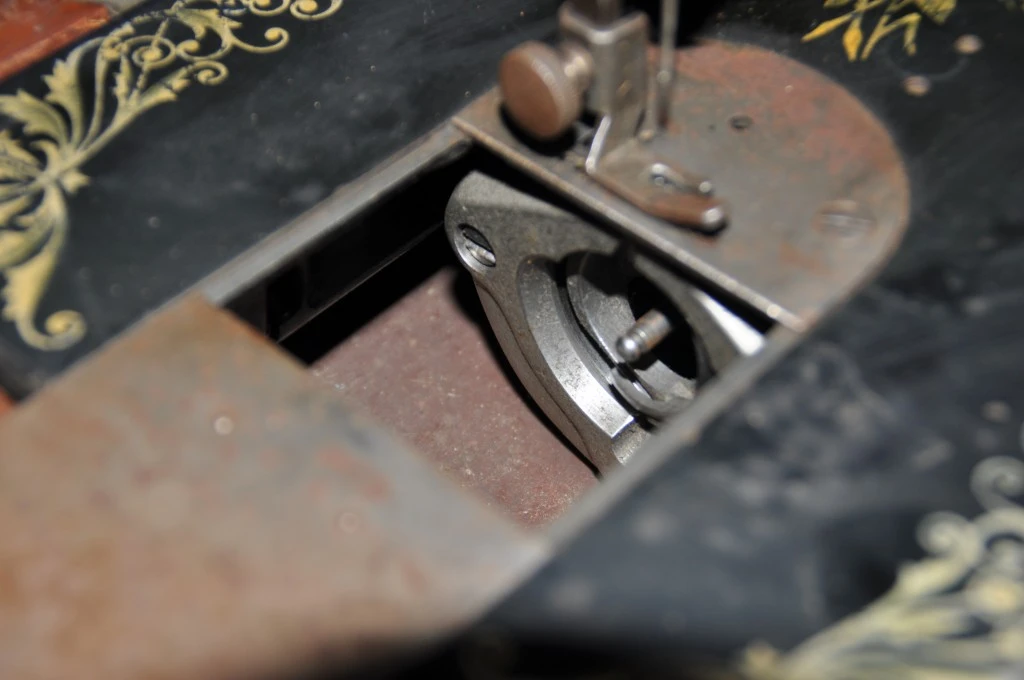
But still, having a sewing machine was luxury, at least in its early years. It took the sewing machine until around 1900 to become a indispensable part of every household. And the number of handsewn gowns from the second half of the 19th century I see everyday at work show better than any statistic that only because the sewing machine had been invented, it didn’t mean everybody had one.
I own the “Der Bazar”-issues from 1872, an illustrated magazine on fashion with tutorials and patterns (unfortunately, the pattern sheets of mine are lost), not unlike sewing magazines today. A february issue featured a nice little box, meant to contain sewing machine supplies and I decided very fast that this was to become my project for the challenge:
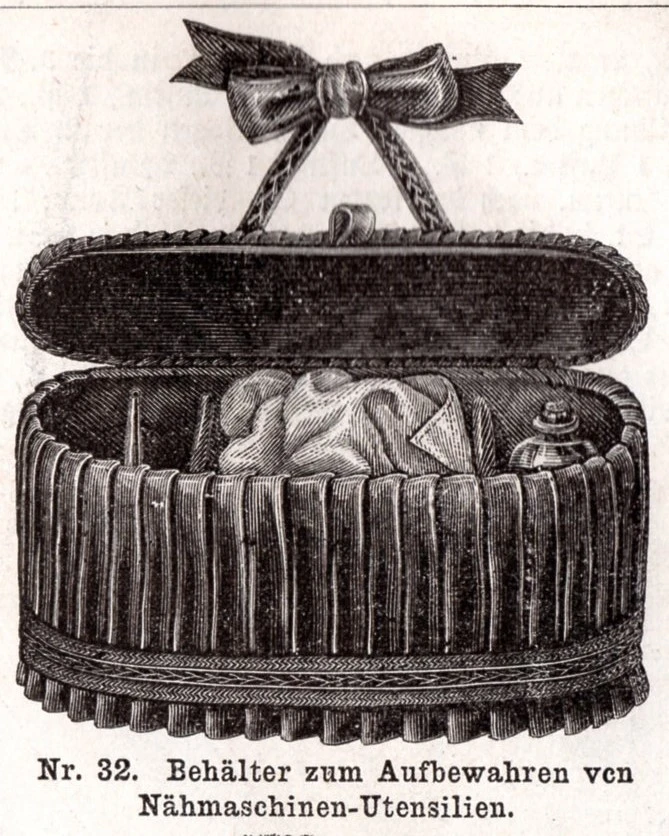
Sewing machine supplies in these days meant oil and a cloth in first place. 🙂
The tutorial asks for “Ledertuch” to use as main fabric, which I would translate as leather-cloth. I was very sure that this wasn’t meant to be real leather from the beginning. Though I wasn’t sure what this word exactly described, I went to work, using a very shiny fabric from my stash. The ones who have been following my blog for some time might remember it: I bought very much of it, because I planned to wear a hooped skirt as my prom dress. After having bought the fabric, but before I started cutting I saw that this was a little over-ambitious back then and went for a completely different style, using only very little of the fabric. A few years ago I made part of it into a half-circle skirt, using the wrong side as right side, because I didn’t like this shiny style of the fabric anymore. I still have plenty of it left and this time the shiny-ness of the fabric was just what I had been searching for.
I searched for the meaning of “Ledertuch” shortly afterwards. According to an encyclopedia from 1905, “Ledertuch” describes a linen or cotton fabric, covered with linseed oil and grime, technically comparable to oilcloth, a treatment with patterned barrels gives it the appearance and marking of real leather (source).
Well, I had assumed something like this. But, first, I do not know if it is still possible to buy real oilcloth, what is sold nowadays is plastic-covered fabric, at least in normal houseware shops, no tinted oil anymore. I have to admit, I keep a whole roll of patterned oilcloth from the 1950ies in my closet, but that wouldn’t have made a good match, I suppose.
Secondly, I don’t suppose oil cloth is very nice to work with.
I decided the shiny fabric is as close as I could get to the original one without extensive search and bleeding fingertips (and as I said, I had already begun).
The box consists of two ovals, a large strip and two rectangles, all cut from cardboard and covered with the fabric.
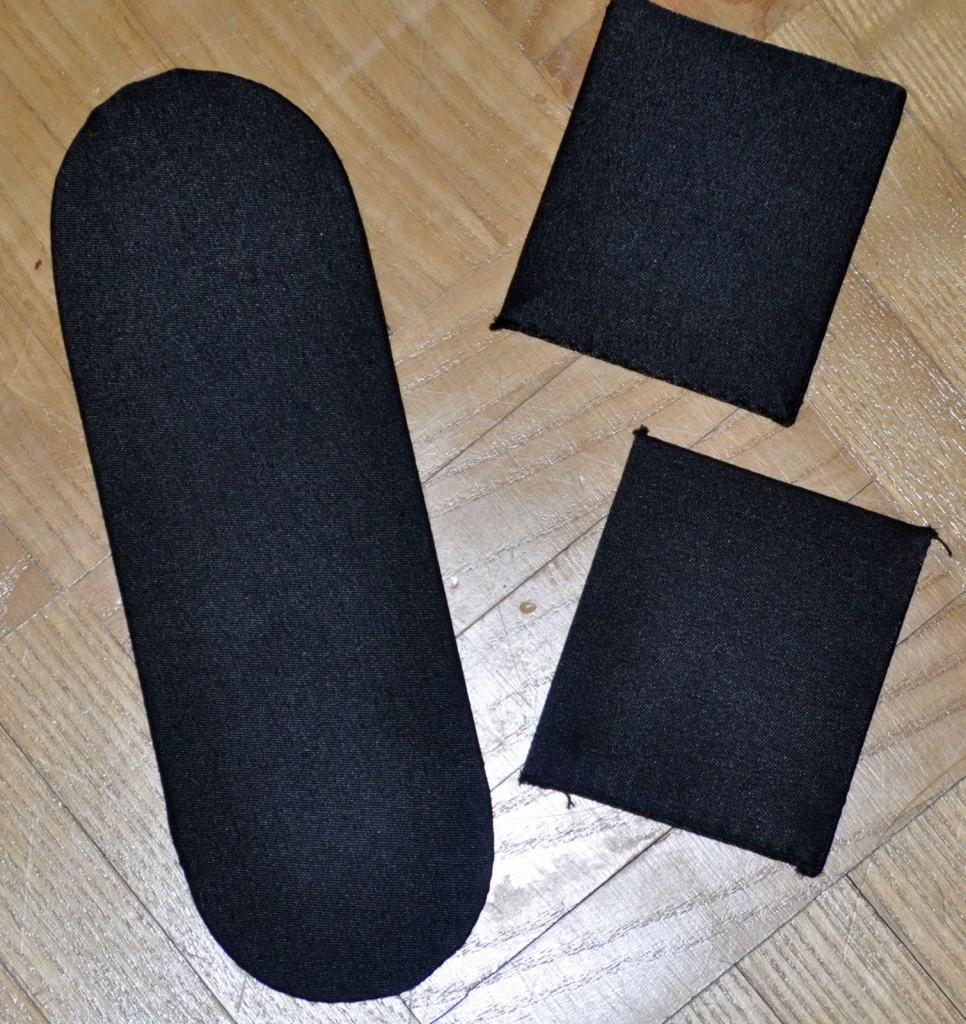 the lid and the rectangles to form the compartments, already covered
The outside of the box was to be covered in pleats on all sides but the back of the box. So I made a loop from the fabric for the inside and a panel of pleats. The latter one alone took me a couple of hours. I measured the pleats (0,5cm each), pinned them down, ironed them and basted them in four parallel lines (three of them where removed after assembling the box, one is hidden under the embroidery).
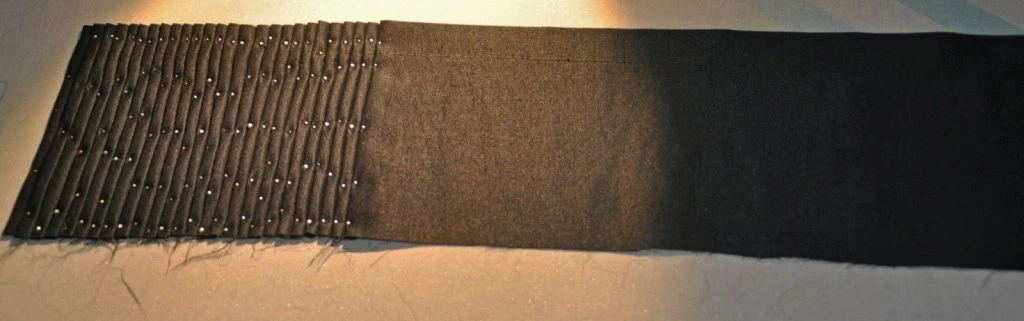
I closed the upper seam, connecting the pleated panel with the lining fabric, with the machine (there are in fact only very few machine sewn seams on the box, only this connective seam and the pleats’ hem). I had cut the fabric for the inside larger than needed, like this I was able to sew it in place stringing it, connecting the seam allowance with the fabric at the bottom of the box.
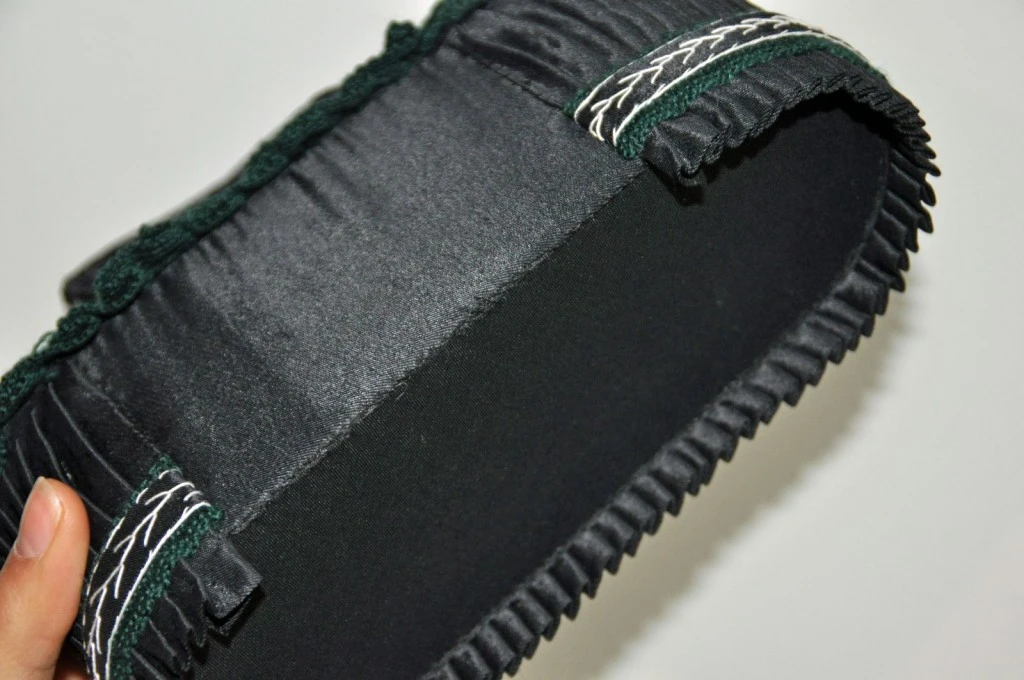
Here you can see the different basting seams hidden below the pleats: the seam I used to form the cardboard strip to a ring (there is no trace of glue on this box), the seam I made to tense the lining fabric and the basting I had to do to keep the pleated seam allowance in place, without it, it shore up and was visible beneath the pleats on the outside.
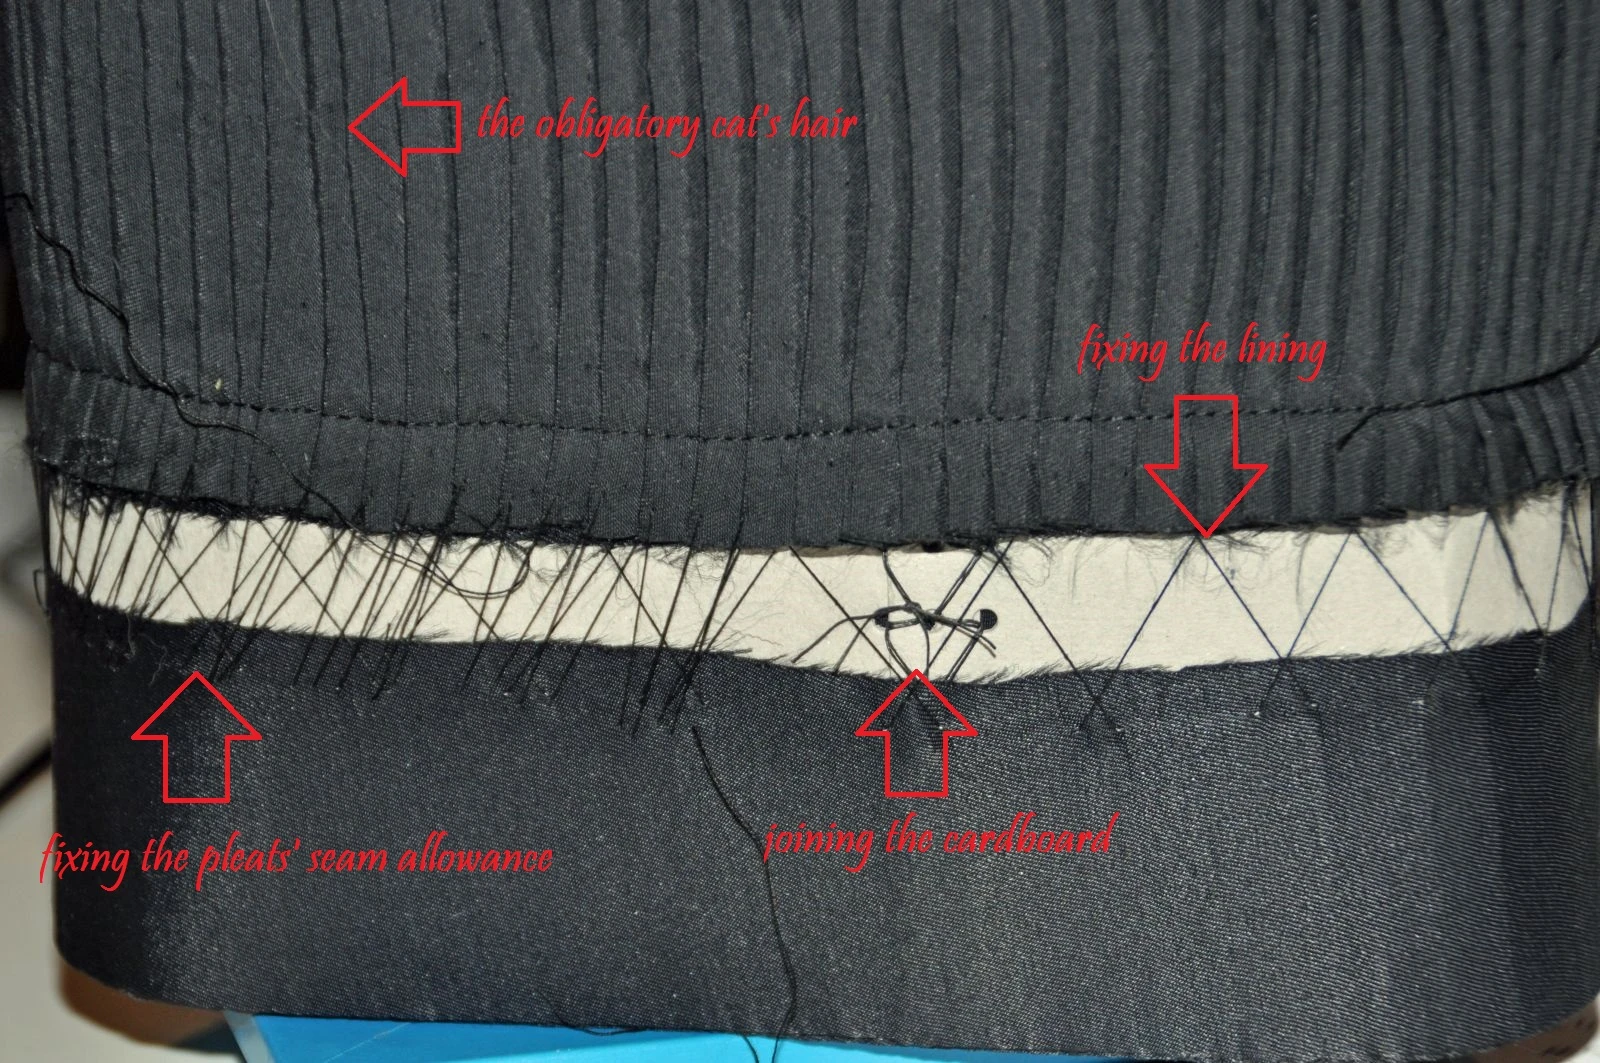
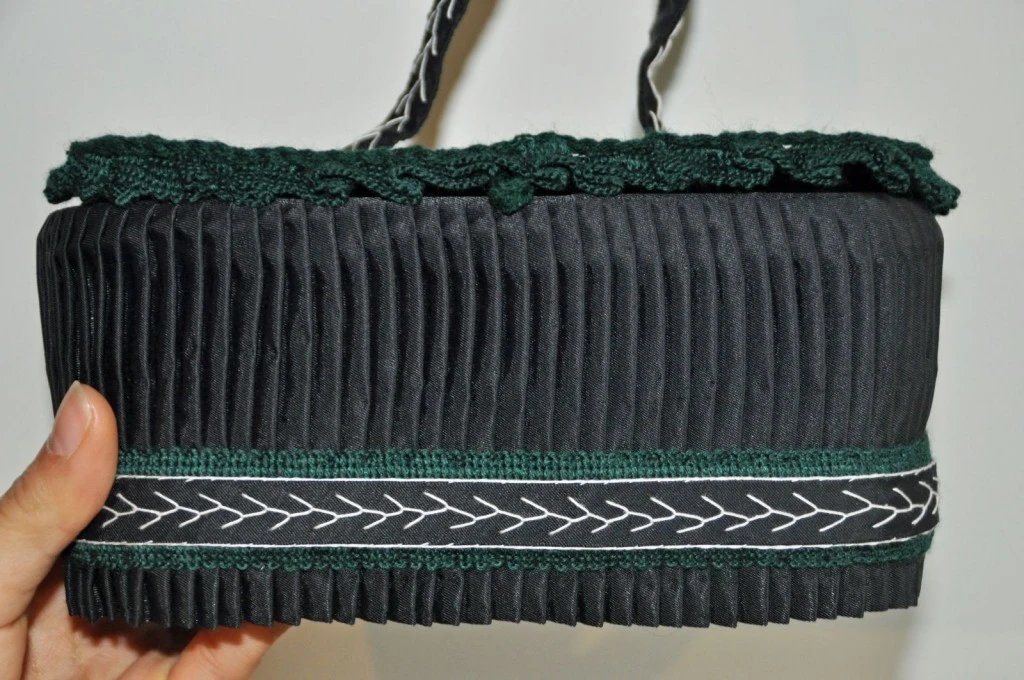
After this step I sewed the bottom oval in place, attached the embroidered band to the pleats (it is in fact an embroidered strip of the fabric sewn onto a green galloon, tutorial asked for a woollen ribbon, that was as close as I was able to get) and connected the pleats to the boxes’ bottom., the gap in the back of the box I filled with a piece of fabric.The pleats are 1,5cm longer than the box itself, so it really has to hang, or it would stand on them.
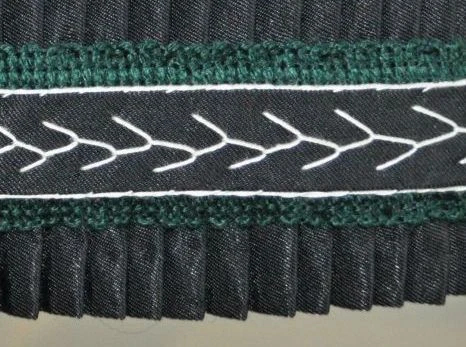
The embroidery is said to be executed in “point russe” stitch. There are very different definitions online what a point russe has to look like, but the image looked to me like a feather stitch, so I went with this.
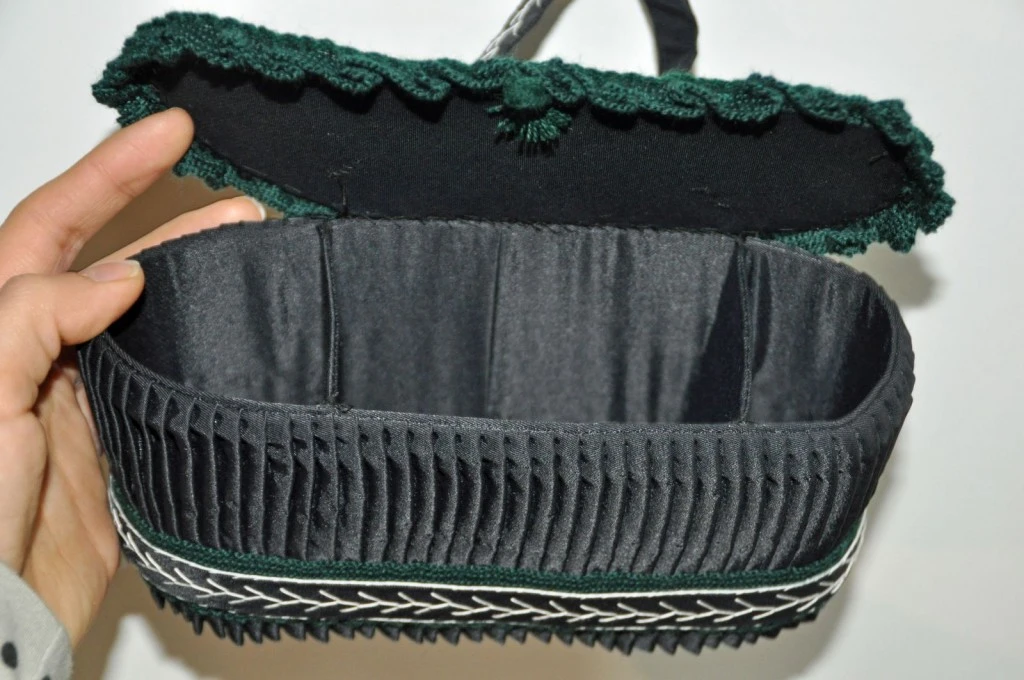
To sew the rectangles into the box to form the compartments was hell! I used curved needles, straight needles, nothing helped, it was just awful. And as you see, they aren’t set in properly, no to say orthogonally, but I won’t undo this seams to give it a second try, never!
The decoration of the lid was only very briefly described in the tutorial, it only said to apply a ruffle from the same green ribbon as used below the embroidery around the edge. So I cut the rest of the galloon in half and turned it into a a loop. This loop was laid in pleats and attached to the lid, upside down, so that I would be able to fold it over the sewing allowance and give it a clean look on the upper side. Unfortunately the galloon frayed horribly and while I folded and basted it in place, the seam allowance became visible in several spots. I couldn’t think of an alternative to attach the galloon with a better result, so I sought for an emergency solution. Luckily a darning cotton I founnd in my stash matched the colour very well, so I turned the 20m I had of it into a braid and sewed it on top of the fraying sewing allowance.
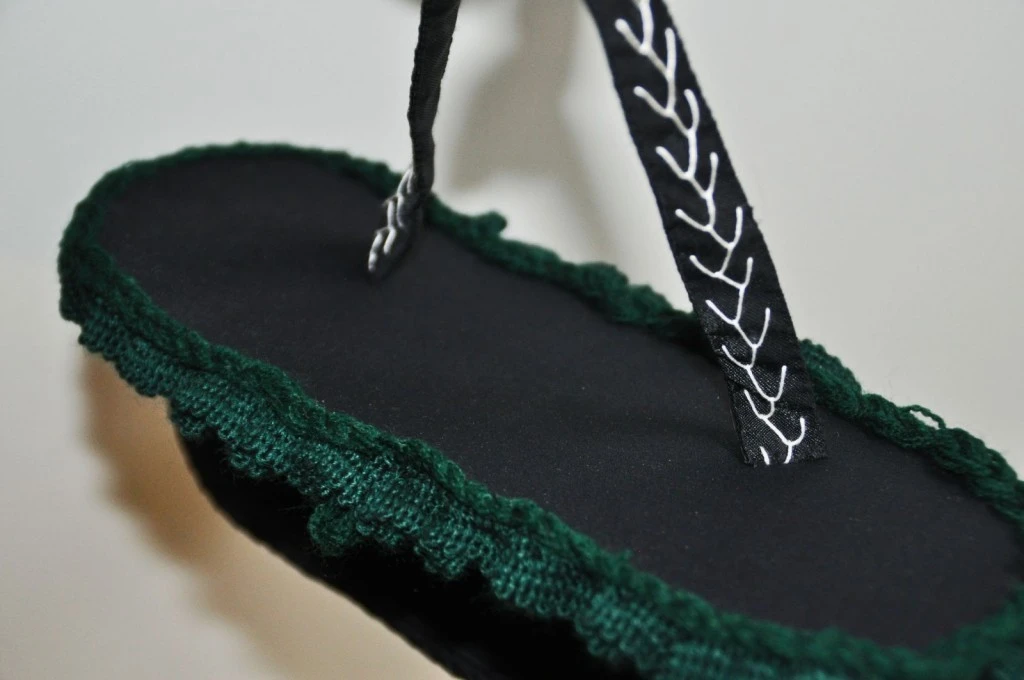
You can see that colour of the darning cotton is close, but not the same. But this is really barely visible. In the middle of the lid I attached a small loop below the ruffle, made of a small rest of the braid (the tutorial suggested ribbon or fabric, but because I had no use for the rest of the braid, I chose this).
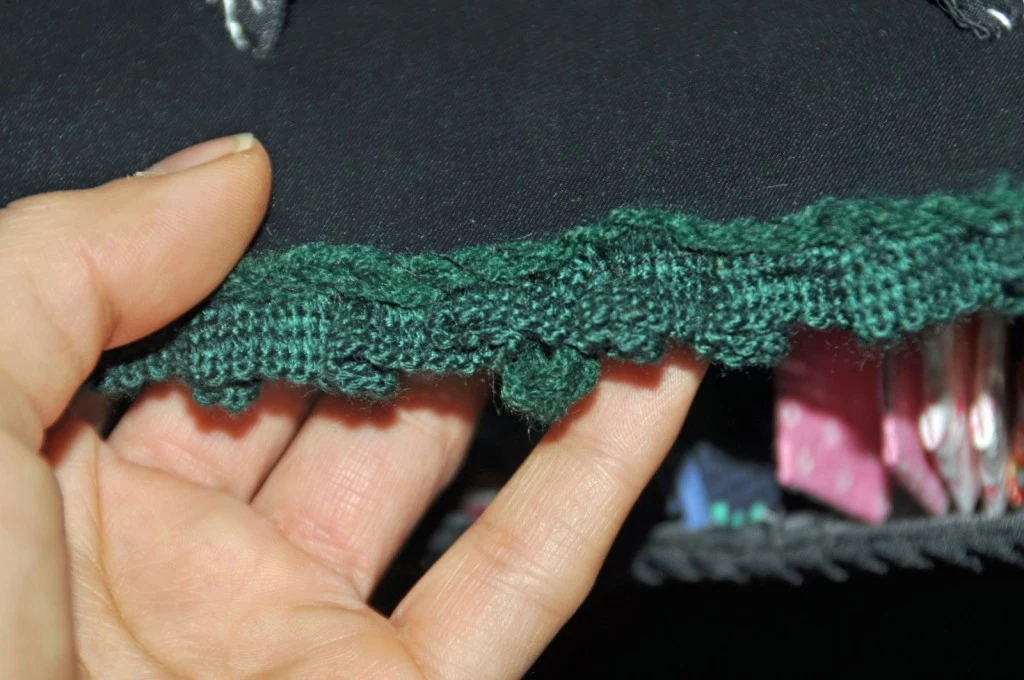
The colours, black fabric, green ribbon and white embroidery, where given in the tutorial. I stuck to them but for some exceptions: The rectangles inside the box as well as the lid were meant to be attached with white thread. I decided this to be a very stupid idea, at least for me, because that wouldn’t only mean that the compartment themselves look messy, but the seams holding them as well, So I went to work with black thread. And the bow on the handle was to be made from black silk ribbon, but because I still had some white satin ribbon in my stash, I used this.
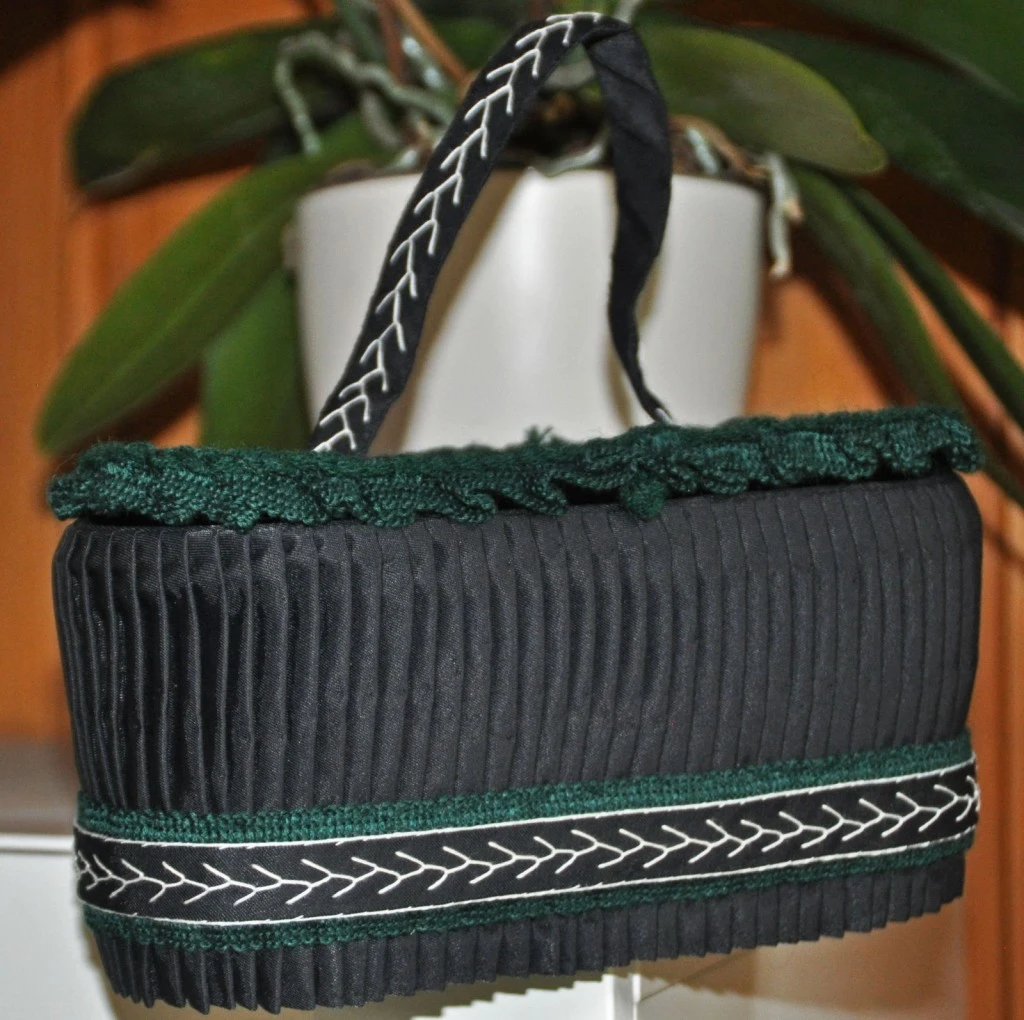
The Challenge: #2 Innovation
Fabric: black shiny fabric, presumably polyester
Pattern: tutorial without a pattern found in “Der Bazar. Illustrirte Damen=Zeitung, Nr. 7, 12. Februar 1872”
Year: 1872
Notions: cardboard, twine (to sew the cardboard), polyester thread (machine seams), cotton thread (hand sewn seams), pseudo-woollen galloon (normally used to edge wool-fabric), white thread (maybe mercerized cotton, used as embroidery thread), 20m darning cotton, satin ribbon.
How historically accurate is it? Very, but for the materials used. I followed the pattern very close and tried to use only techniques available back then. I am pretty sure the green galloon is not made from real wool and I certainly know the fabric and ribbon to be artificial fibres. So the shiny-ness of the material is not caused by linseed oil, as would have been historically accurate, but by the fabric itself, so I would argue the overall appearance is at least comparable to the original.
Hours to complete: very many. This is by far the most time-consuming thing I ever made, considering the time it took and its final size. 10-15 hours I suppose.
First worn: in use since 25th January 2014
Total cost: I can’t remember how much the fabric was, something between 6 and 7€/m, I used only very little of it, so maybe 2-3€ for the fabric, but it has been in my stock for years. Cardboard was left from some calender or wrapping, can’t remember, but it was definitely for free as material. Embroidery thread was old, found it in my stock, can’t remember from where I got it, same applies to the darning cotton. Only thing I had to buy for this project was the green galloon, I bought 1m and paid something like 2 CHF.
If you include the pattern, the project was pretty expensive. For the complete issues of the year 1872 (48 issues, 392 pages total) I paid 200€ a few years ago, which is actually too much, considering its condition and its age. It is available for less, but I didn’t know back then (it was a time before iphones where widely spread and I stood at this antique fair booth having to decide very quickly). But this is only one pattern from many I can make from this source 🙂
what bow? This bow! And here you can see that I made it into a home for my hexagon quilt supplies:
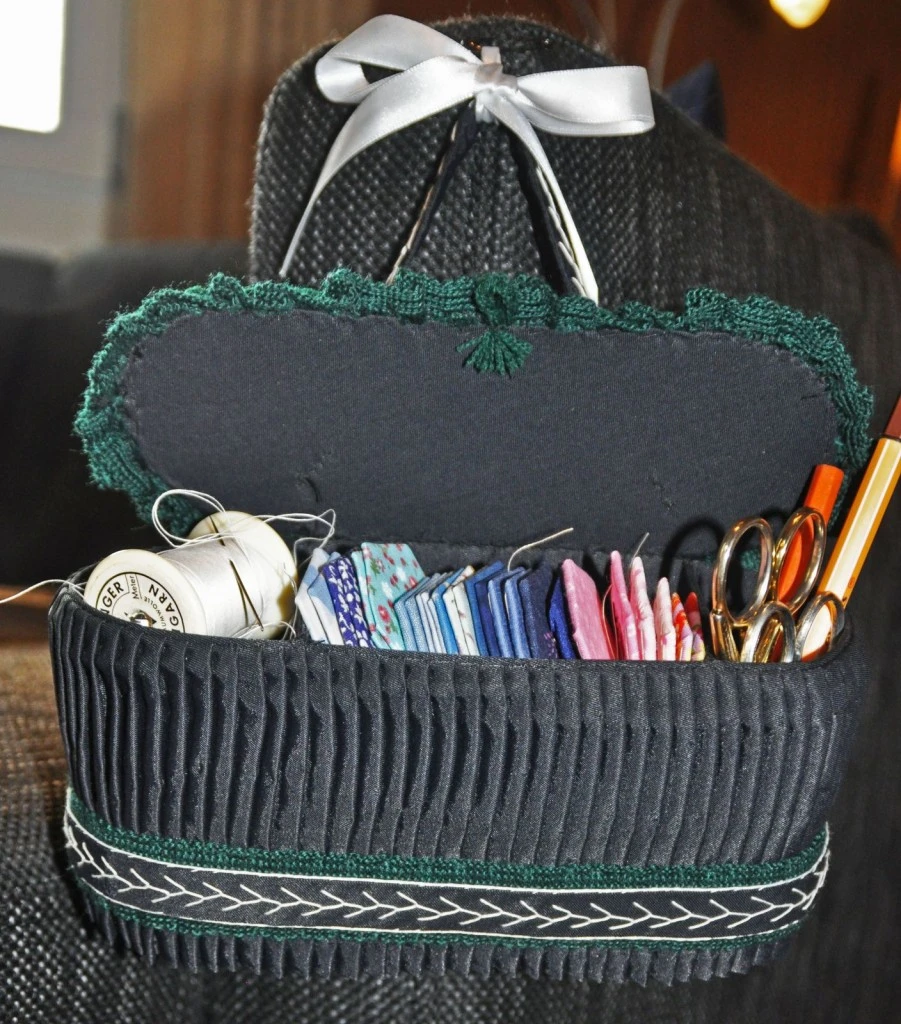
As a résumé I must say, this tutorial wasn’t logical at all. The loop suggests to be used to open the box, but the lid can’t be closed, because the pleats force you to hang it, using the handle on the lid, opening it. Additionally the lid should have been made slightly larger that the bottom oval. The pleats seem to enlarge the box visually, so the lid appears to be too small. Additionally, the cardboard bents a little to the outside and intensifies the effect.
But I am content with the result and working with an almost 140 year old tutorial has been real fun.
See you soon,
ette
all information on the technical history and the expansion of sewing machines derives from: Peter Wilhelm: Alte Nähmaschinen. Namen. Daten. Fakten, Duderstadt 2002
 Follow