Let’s talk about the only project in this blog with its own category, but which hasn’t had any new post for more than a year, my English Quilt.
And because it has been quite some time, a little resumé:
Back in 2008 I discovered a technique called “English paper piecing”, using cardboard hexagons covered with fabric to patchwork (you can use other forms as well, but the quilt I saw and fell in love with was made from hexagons). I decided to make my variant of a 19th century quilt, pictured in one of my sewing books.
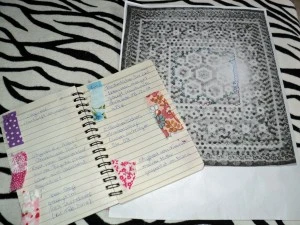
Planning to use this as a bedspread, I went for hexagons measuring 2,5cm on each edge.
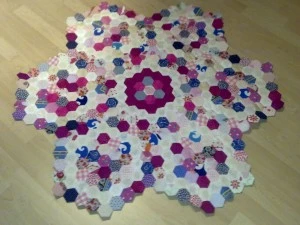
From this moment on, there was only one thing left to do: cut cardboard, cut fabric, basting fabric, sew hexagons together
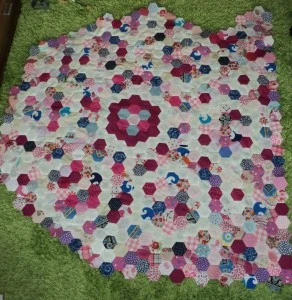
over…
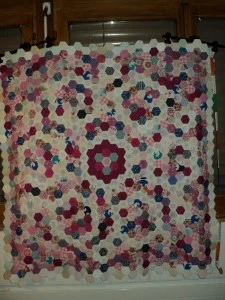
and over…
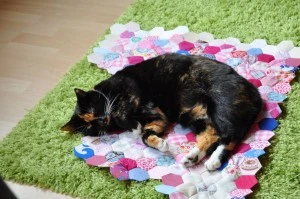
and over.
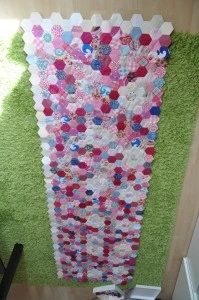
Back in 2012 I finished the left part and since then have been working on the lower part of the quilt. I finished it only some days ago (not because it was so much more work, but simply because I ran out of steam, I just didn’t want to work on this project for quite a long time).
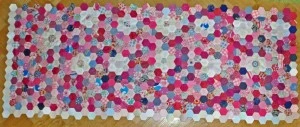
This is how it looks at the moment. The three parts have been joined together and have to wait now until I will start and hopefully finish the next part.
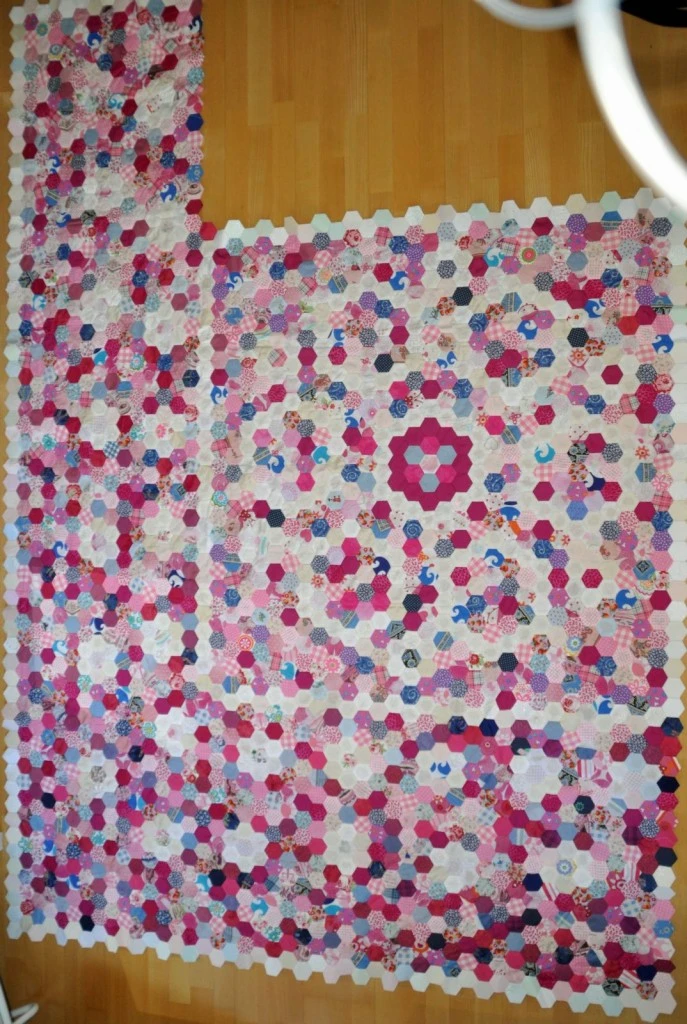
The height is already the final one (there will only be a narrow border around it), in width one part like the one left will be added on the other side.
Statistics: 2203 hexagons done, 1335 to go
Still a lot of work to do, but I’m on my way 🙂
see you soon, love,
ette
 Follow
Oh wow, was für eine Fleißarbeit, Ich bin wirklich beeindruckt von Deine Ausdauer! Wie muss ich mir das mit der Pappe eigentlich vorstellen, wie fest ist das ganze dann? Und wie fühlt sich das an? Ich hab noch nie von dieser Technik gehört, darum die dummen Fragen 🙂
Dankeschön, aber wie gesagt, manchmal liegt er auch monatelang im Schrank bis ich weitermache 🙂
Die Pappe dient eigentlich nur als Nähhilfe. Du heftest den Stoff darum, dann kannst du um ein Sechseck sechs weitere annähen, so hast du quasi ein Blümchen. Wenn alle Kanten “benäht” sind, kannst du die Pappe in der Mitte rausnehmen und die Blütenblätter zusammennähen. Und so machst du immer weiter. Die Pappen sind also immer nur in den Sechsecken, die an einer Aussenkante liegen.
Eine Anleitung gibt es hier, allerdings wird es da etwas anders gemacht, da ich es so gut es geht vermeide, die Schablonen zu knicken (einfach um sie mehrfach verwenden zu können).
http://raumseelig.blogspot.ch/2009/11/grandmothers-flower-garden-quilt-2.html
Ette, das Teil wird der Wahnsinn! Deine Geduld ist unbeschreiblich – gib jetzt bloss nicht auf! Hexagon-Action!
Dankeschön! Im Moment liegt es brav im Schrank verstaut und bevor ich mit dem nächsten Teil beginne, brauch ich wohl wieder ein paar Wochen Pause, aber es geht sicher weiter. Ich bin doch nicht so weit gekommen, um jetzt aufzugeben 😉